Using Film for Shot Improvement
July 26, 2018
I use film during shooting sessions for two reasons: First, it lets players see their shot and any needed corrections. This is an extremely valuable tool, especially for younger players. Second, when I work with advanced shooters, I often need slow motion film to even identify subtle mistakes or relapses. Often times all you can see real time is the result of the mistake (i.e. bad or no ball rotation, lateral release movement) but not the underlying cause (i.e. poor hand placement, wrong release point, inconsistent leg power, etc.).

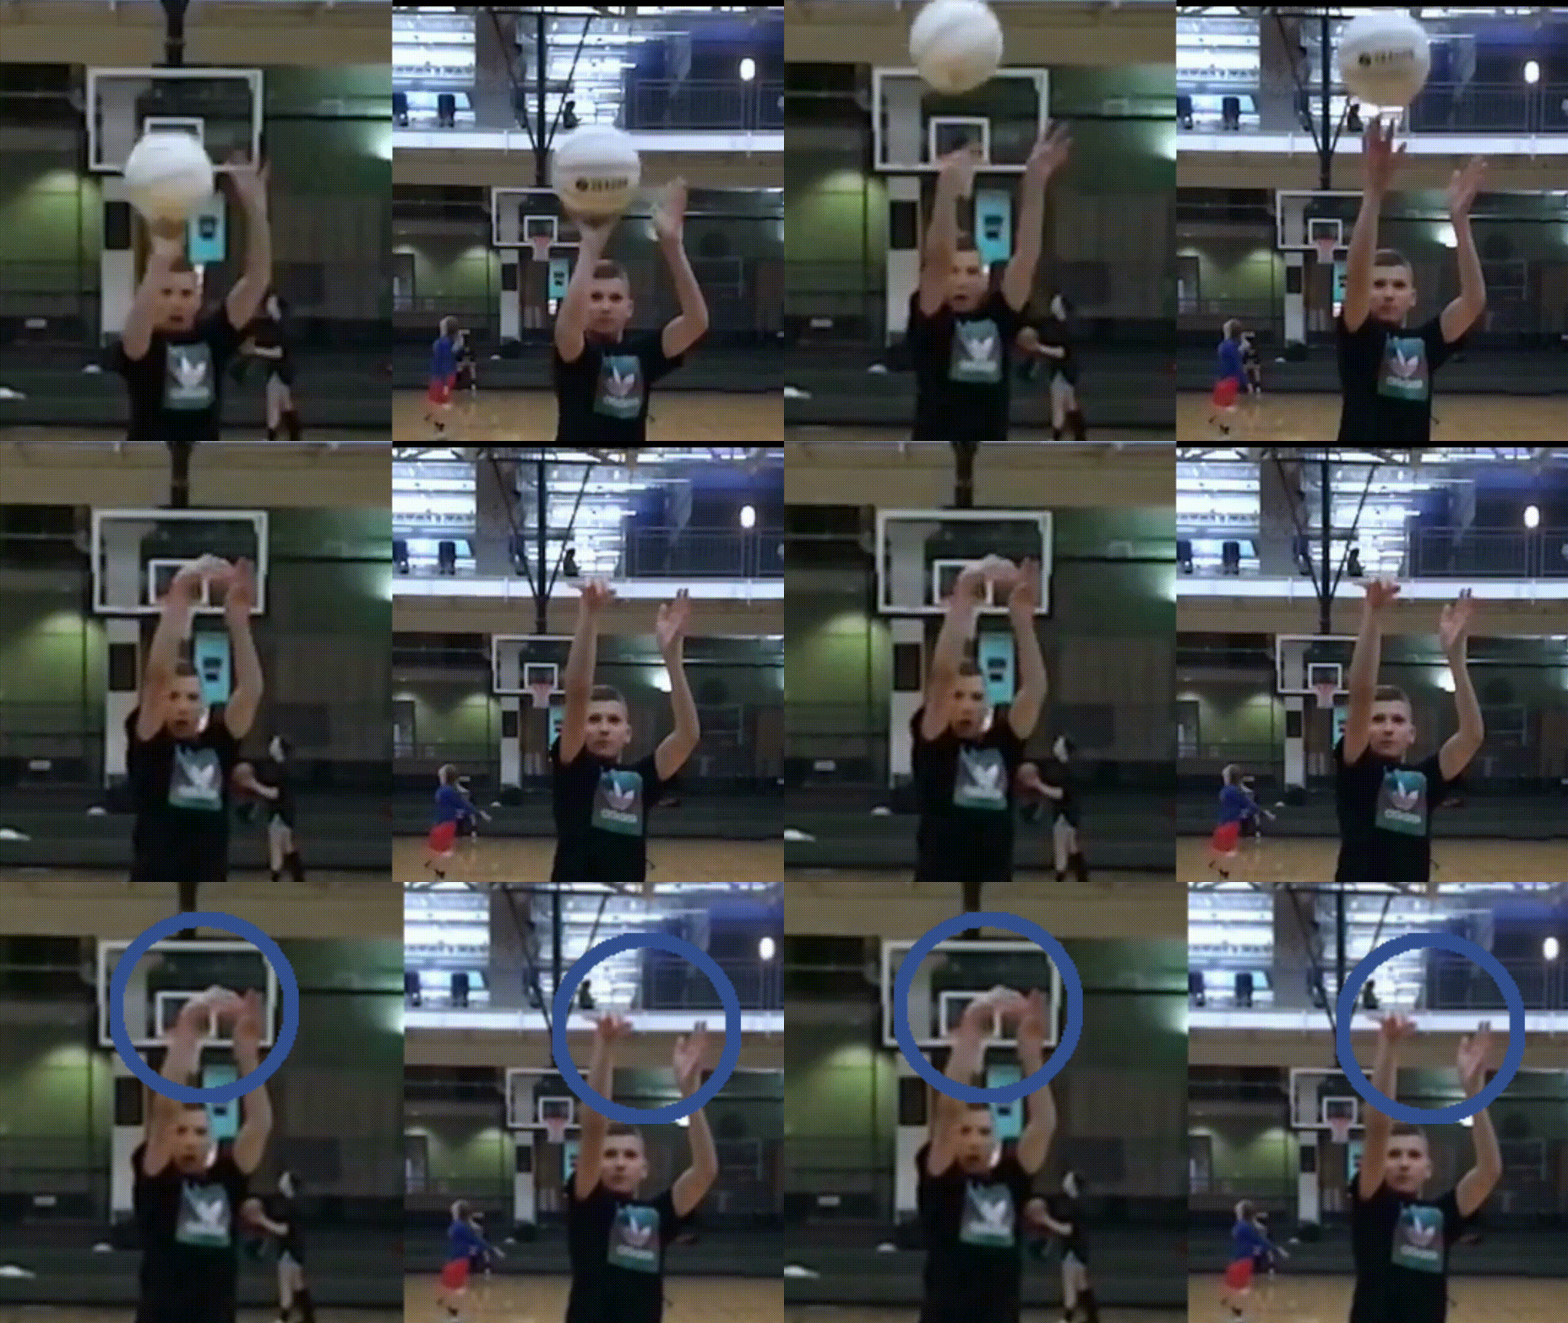
Here is one of my best young shooters during a recent session. Watching his “before” shot in real time makes it difficult to identify any obvious shot form mistakes:


Before
When I watched the shot in real time I could see only the sharp wrist snap to the left on the follow through and a slight tilt to the ball rotation after the release. Those issues suggest a mechanical flaw somewhere earlier in the shot. Only when watching it in slow motion were we able to identify several issues and correct them.
Before I analyze the above example, here is the process that I use when breaking down a shot. The exact order of this checklist will vary, especially if I have already identified an incorrect result. For example, if I recognize lateral ball movement on the release, I will often start with checking the shooting hand and elbow. When I take a shot through this checklist, I always use slow motion video.

Video Review Shooting Checklist


A word of caution here: the shooter in this example is at the stage of his shot development where we can make three or four corrections in a single session together. For younger players using film, I keep the focus to one or two adjustments at a time. This allows the player enough repetitions to form new habits before moving to the next shot adjustment.
The first thing we found was improper shooting hand placement. You can see below the fingers were close together (although the index finger is correctly in the center of the ball). The corrected hand placement shows proper spacing between each finger and a wide grip for better shot control:

Before
After
As he rises up to shoot, we can see that the elbow on the guide hand is in a wide position. Watch as it causes the shooting arm to turn out as he begins the shot. It doesn't seem like a lot, but it ends up being a 10 degree difference in arm angle. It is extremely difficult for a shooter to consistently keep the ball on the shot line with an arm angle that starts so wide.

Before
After

With the shooting elbow too far out (and the incorrect narrow hand grip), watch how the guide hand is forced to support and shoot the ball forward. Notice the ball then rotates slightly when pushed by the guide hand. This creates the tilted rotation we saw in full speed, we found the source!
Before
After

Before
After
Here was the other mistake I saw at full speed: the wrist snap that violently goes left after the release. Given how often I see this error in young shooters, it's amazing how often it goes ignored:

Before
After
The directional wrist snap is almost always one of two things: (1) the shooting elbow too far out or (2) the last release point of the shooting hand is not centered on the ball. We already saw the elbow was slightly out, but you can also see below his release point was his middle finger, which is not the finger he had centered on the ball (which was his index finger). This means his final release point was off centered by several inches:

Before
After
In the final comparison, you can see how the corrected hand placement and release point, the wrist snap is now straight and down with no sharp lateral motion and the guide hand has gone from 'thumbing' the shot to a passive support role with the thumb back:

Before
After
The better a shooter gets, the more valuable slow motion shot review becomes. Allowing young players to see their improvement on film is one of the best motivational tools a coach can use.


